


Publish with Profit. Transform your Words into
Create a blog and newsletter to reach a global market and maximize your profits with ghost
In many cases, you have been led to believe that only Google Blogger inserts the most standard and easiest Google Adsense ads, optimizing monetization with ads.
I don't believe that!
With Ghost CMS's standard blogger blog structure, you can add Google Adsense and optimize your blog even more than Google Blogger.
Following are 3 steps to insert Google Adsense code into Ghost websites.
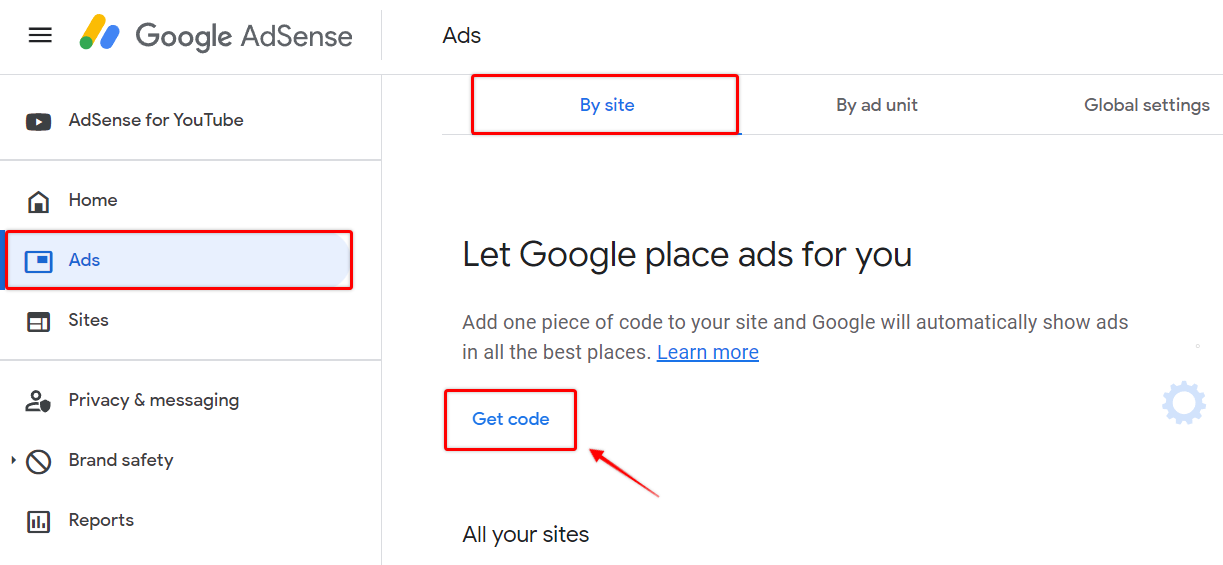
1. Adding Google Adsense code to site header
After adding a new domain name in Google Adsense, you able to receive a Google Adsense code (also used to validate the domain name).
<script data-ad-client="ca-pub-xxxxxxxxxxx" async src="https://pagead2.googlesyndication.com/pagead/js/adsbygoogle.js"></script>You go to Ghost Admin > Code Injection and add .Site Header
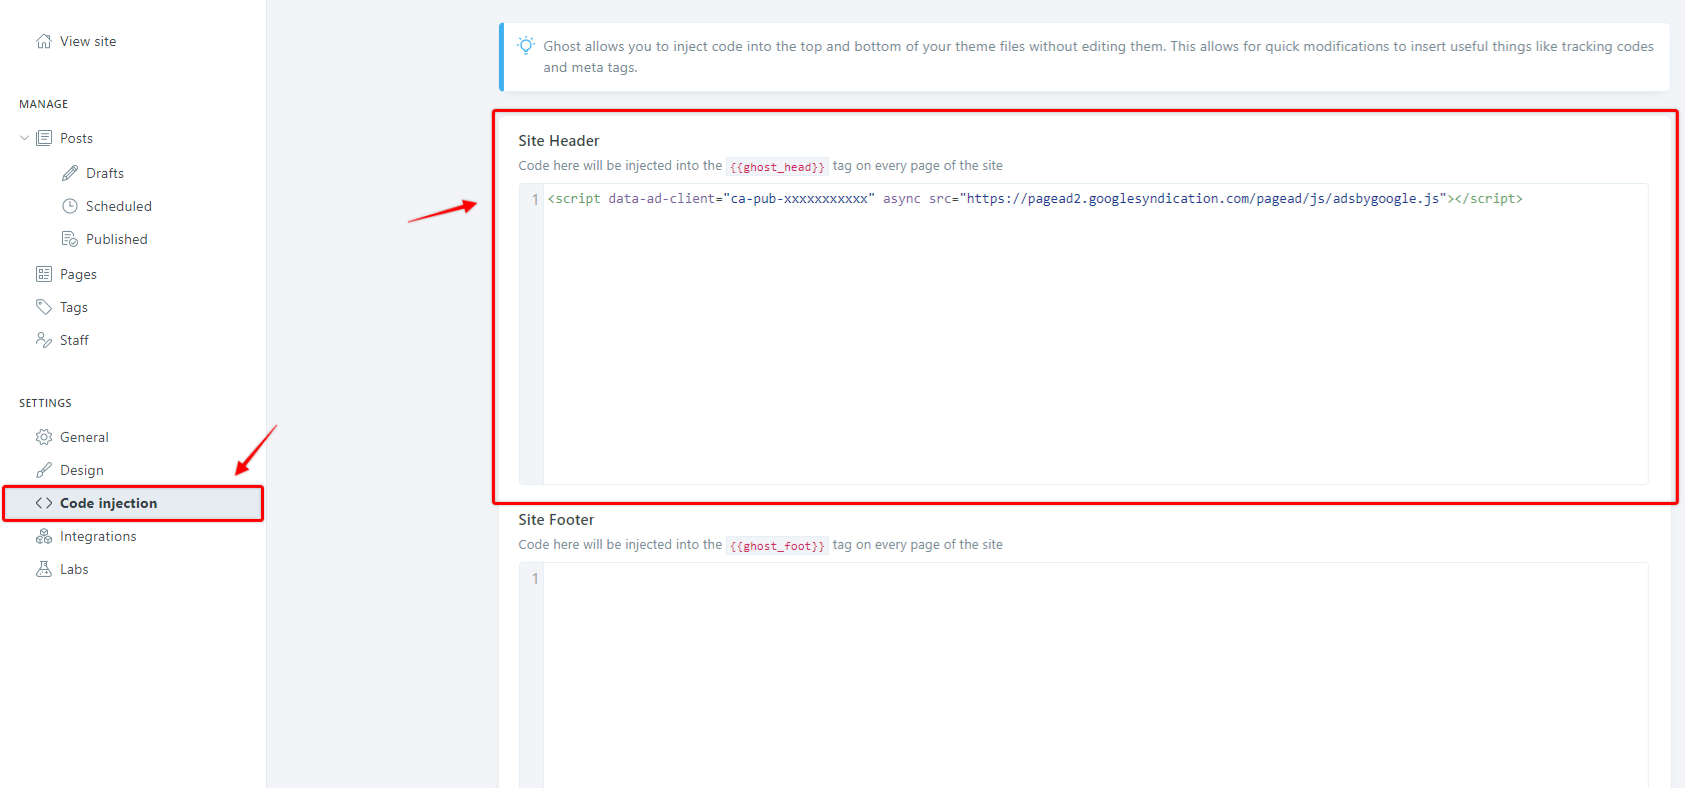
Save and you wait for Google Adsense to authenticate for a few days. Complete!
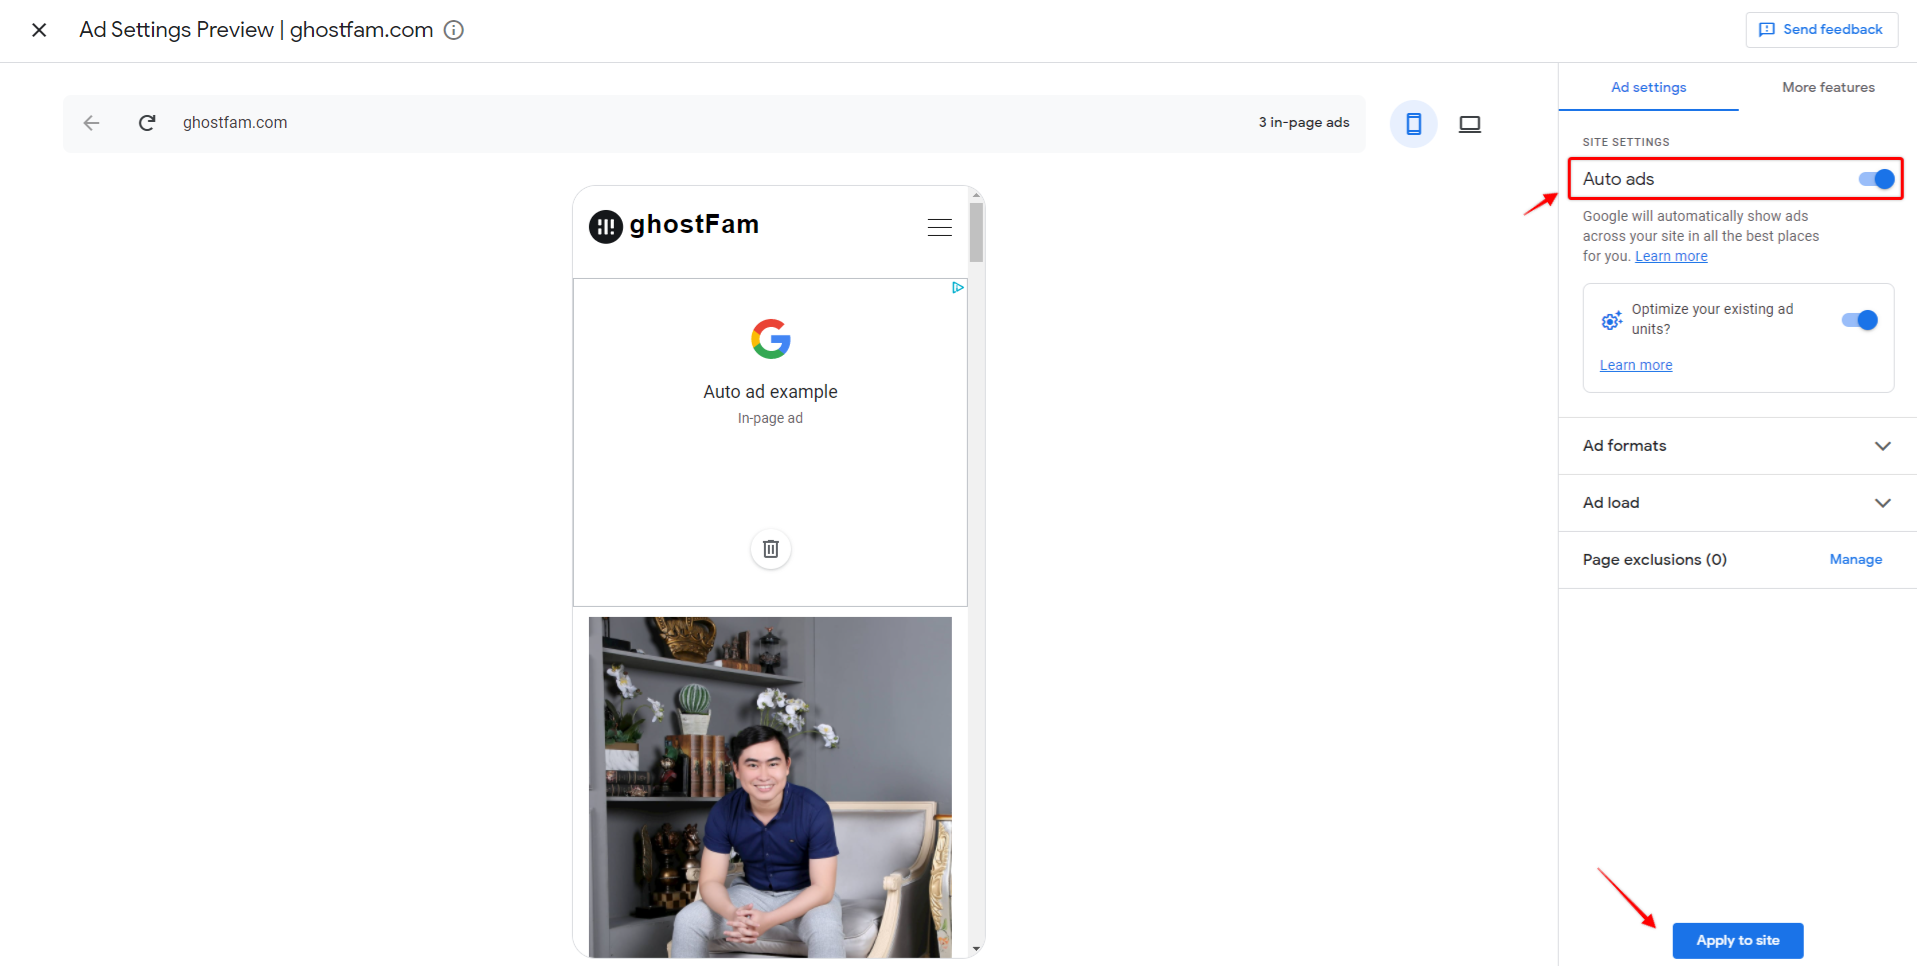
In the meantime, you go to Google Adsense and enable automatic ad insertion. This mode will give Google Adsense permission to create ads on your site once your site has BEEN SUCCESSFULLY authenticated.
2. Add AMP Google Adsense automatically to the AMP interface
Ghost will have AMP enabled automatically, similar to Google Blogger, but the other difference is that you need to manually add AMP Google Adsense to Ghost.
You need to create a new file amp.hbs for Ghost to overwrite the default amp file in ghost core.
The AMP template is as follows, you just need to copy the AMP template below and add it to the Google Adsense AMP code or download the amp.hbs file attached below I have created for you and replace the Google Adsense Publisher ID code (in the Google Adsense account tab).
AMP Google Adsense will automatically require
- AMP script at head tag
- The AMP tag in the body tag contains your Publisher ID
<script async custom-element="amp-auto-ads" src="https://cdn.ampproject.org/v0/amp-auto-ads-0.1.js"></script><amp-auto-ads type="adsense" data-ad-client="<PUBLISHER ID GOOGLE ADSENSE>"></amp-auto-ads>Replace <PUBLISHER ID GOOGLE ADSENSE> with your Publisher ID which looks like .ca-pub-xxxxxxxxxxx

Upload amp.hbs to the root folder of your current Ghost theme (download theme, paste into root folder, re-upload to Ghost).
3. Upload ads.txt for validation
Google Adsense will ask you to authenticate by uploading the .ads.txt
You use your computer's Text Editor and create a new file ads.txt with the following content.
google.com, pub-0000000000000000, DIRECT, f08c47fec0942fa0TNext, you upload your current ghost theme to the root folder.
Restart ghost ghost restart after uploading the theme with the CLI, if remote theme deploys, there is no need to start.
Final Thoughts...
Remember that you have to wait for Google Adsense to approve your website before the ads show automatically.
With the AMP interface, you want to check if Google Adsense is set up correctly or not, then you add amp/#development=1 to the end of the URL on the browser to check for errors with the Inspect Tool.
If you want to use Google Adsense's Ad Units, you have to customize ghost's theme to add ads to placements like Sidebar, Comment, ,... of course, you should only use Ad Units when you know how to customize the ghost theme.


Cuong is passionate about digital publishing, specializing in leveraging the power of platforms like Ghost and WordPress, while sharing effective practical SEO writing techniques based on these tools.
ghostfam.com